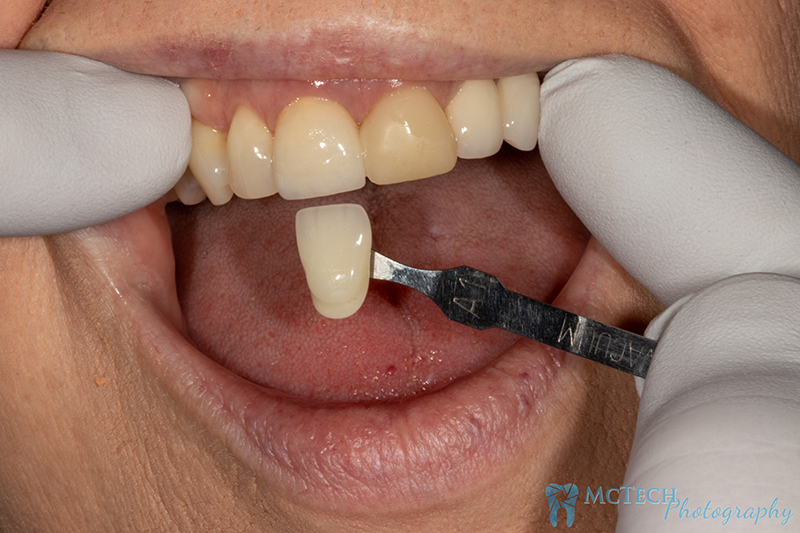
Always give us an Rx form that is filled out in its entirety (paper or digital)
Examples of useful information to help mitigate the chances of a remake include:
With Digital cases, the various scanning companies each have their own format for creating a digital Rx. However, we are not in control of the format presented to doctors and this can create confusion and contradiction. For digital cases please send us an email of our Rx filled and signed.
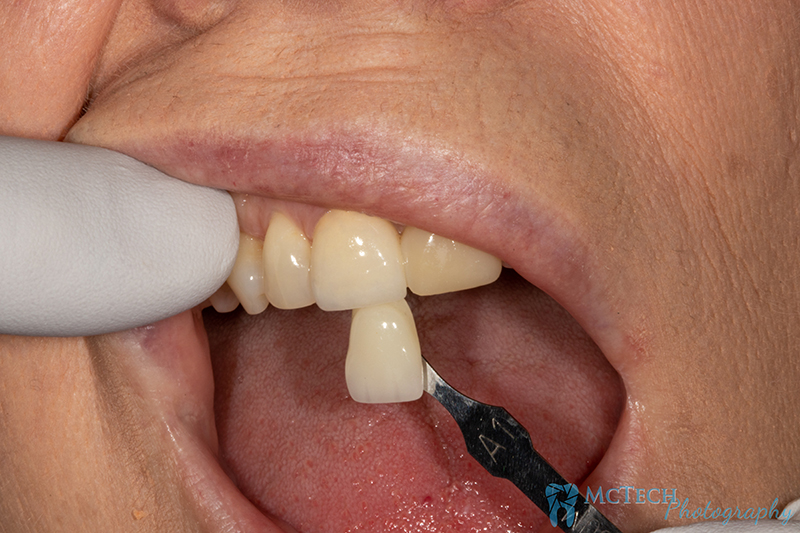
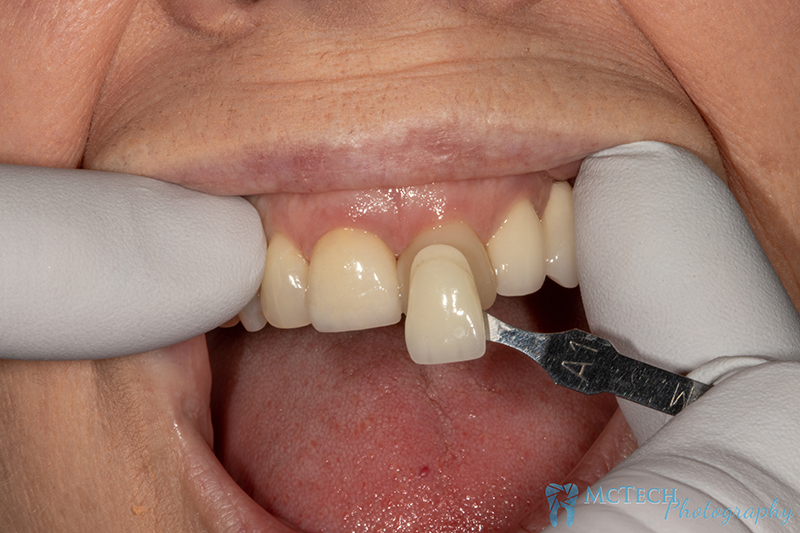
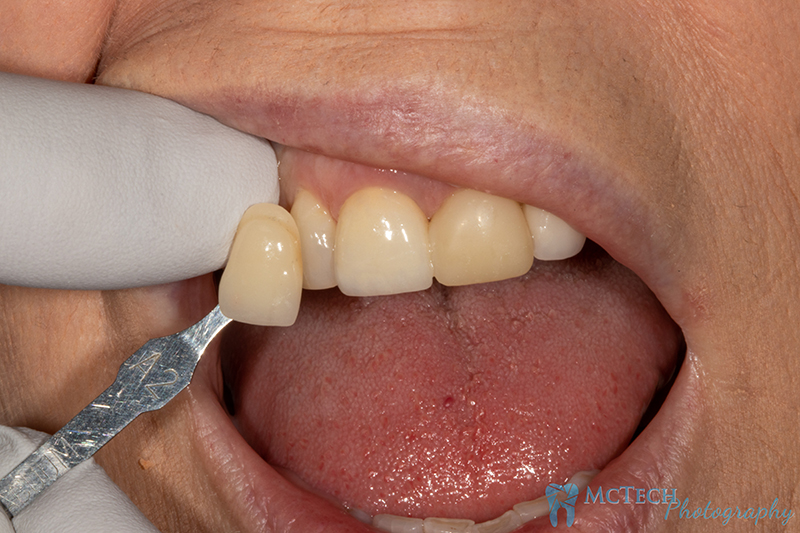
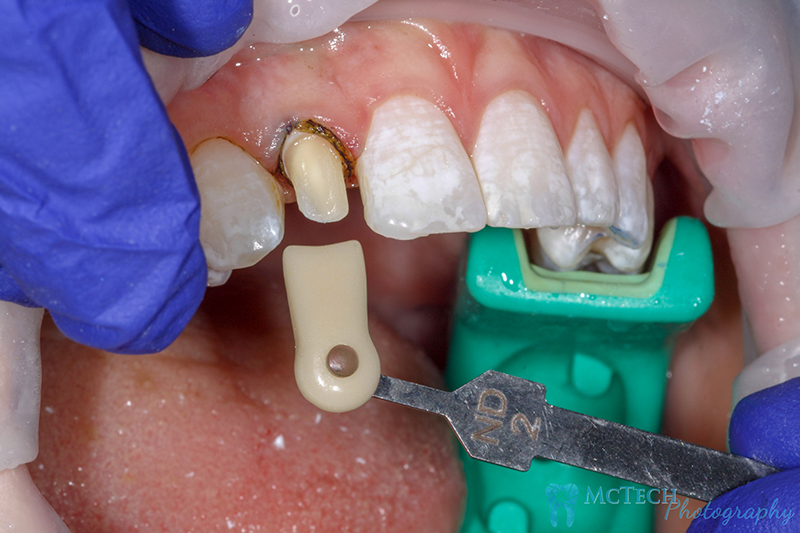
We ask that you follow our Remake and Adjustment procedure WITH EVERY CASE BEFORE SEATING.
